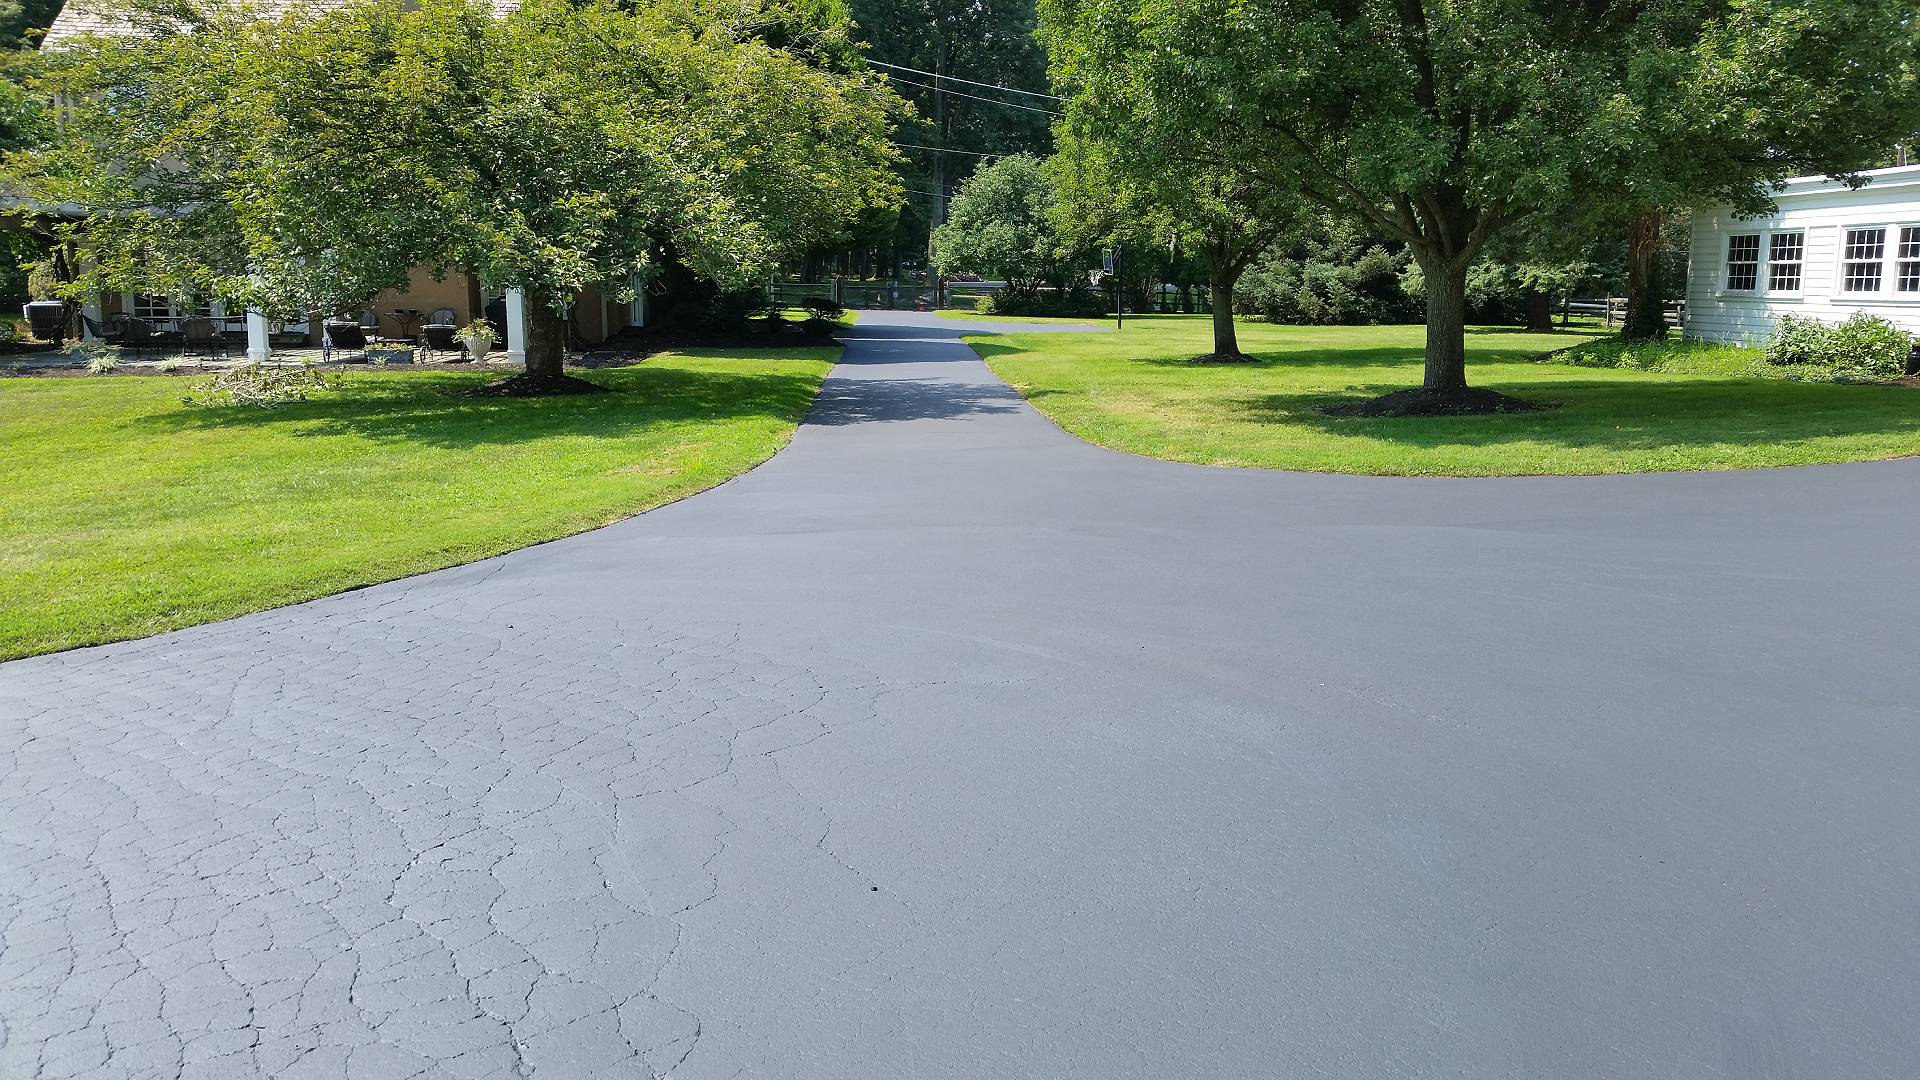
Picture this: you’re walking across your driveway and notice those telltale signs of aging asphalt. Cracks, fading, and maybe even some oil stains that seem to multiply overnight. Sound familiar? You’re not alone in this common homeowner struggle. Proper asphalt preparation is the foundation of effective sealcoating, and it can mean the difference between a coating that lasts two years versus one that protects for five or more. This guide will walk you through the essential pre-application steps that ensure your sealcoating investment delivers maximum protection and curb appeal.
Step-by-Step Surface Preparation Checklist
Getting your asphalt ready for sealcoating isn’t just about making it look good on the surface; it’s also about ensuring it’s protected from the elements. The preparation phase determines how well your sealcoat will bond, how long it’ll last, and ultimately, how much money you’ll save in the long run. Think of it like painting a house. You wouldn’t paint over dirt and peeling paint and expect great results, right? Here’s your complete preparation roadmap:
- Clear the entire surface: Remove all vehicles, furniture, and debris from the asphalt area
- Power wash thoroughly: Use high-pressure water to remove dirt, grime, and loose materials
- Clean oil and grease stains: Apply specialized cleaners and scrub stubborn spots
- Fill cracks and repair damage: Address any structural issues before coating
- Allow complete drying: Wait 24-48 hours after cleaning for moisture to evaporate
- Final inspection: Walk the area to ensure all preparation steps are complete
- Block access: Set up barriers to prevent foot traffic during application
Once you’ve completed these preparation steps, you’re setting the stage for a sealcoating application that will truly protect your investment. And even though the steps seem simple, hiring professionals to do it will always be the best approach. Now let’s explore why this protection is so valuable for your property.
Benefits of Sealcoating Your Asphalt
Sealcoating isn’t just about making your driveway look like new again, though that’s certainly a nice bonus. This protective layer acts as a shield against the elements that constantly attack your asphalt surface. From UV rays that cause fading to water infiltration that leads to costly repairs, sealcoating addresses multiple threats at once. Here are the key advantages you’ll enjoy:
- Extended lifespan: Adds 3-5 years to your asphalt’s life when applied regularly
- Weather protection: Guards against rain, snow, ice, and harmful UV radiation
- Cost savings: Prevents expensive repairs by addressing minor issues early
- Enhanced appearance: Restores that rich, black finish that boosts curb appeal
- Improved safety: Creates a smoother, more slip-resistant surface
- Easier maintenance: Sealed surfaces are simpler to clean and maintain year-round
These benefits make sealcoating one of the smartest investments you can make in your property’s infrastructure. However, even the best sealcoating job can be compromised by existing stains that weren’t properly addressed beforehand. Let’s tackle those stubborn spots that require special attention.
Oil Stain Removal Techniques
Oil stains are the arch-enemy of effective sealcoating because they prevent proper adhesion and can cause premature failure. These petroleum-based stains create a barrier that repels water-based sealers, leading to patchy coverage and early deterioration. The good news is that with the right approach, most oil stains can be successfully removed or neutralized before sealcoating begins.
- Dish soap method: Mix concentrated dish soap with hot water and scrub with a stiff brush
- Commercial degreasers: Apply specialized asphalt cleaners and let them penetrate for 15-20 minutes
- Baking soda paste: Create a thick paste with baking soda and water for older, set-in stains
- TSP solution: Use trisodium phosphate mixed with water for heavy-duty cleaning
- Steam cleaning: Rent or hire professional steam cleaning equipment for stubborn areas
After treating oil stains, always rinse thoroughly and allow the surface to dry completely before proceeding with any additional preparation steps. Remember that some very old or deep stains might require multiple treatments or professional attention. With clean, stain-free asphalt, you’re ready to address the structural elements that could compromise your sealcoating project.
Critical Preparation Steps You Shouldn’t Skip
While surface cleaning gets most of the attention, there are two preparation aspects that many property owners overlook until it’s too late. These structural and environmental considerations can significantly impact the success of your sealcoating project. Ignoring these factors is like building a house on a shaky foundation; everything else becomes compromised. Let’s dive into these often-forgotten but absolutely essential preparation requirements.
Crack Filling and Pothole Repair Requirements
Cracks and potholes aren’t just cosmetic issues – they’re entry points for water, ice, and debris that can destroy your asphalt from the inside out. Sealcoating over damaged areas without proper repair is like putting a band-aid on a broken bone. The coating may appear satisfactory initially, but the underlying issues will persist and ultimately lead to the sealcoat failing prematurely.
Professional crack filling involves cleaning out debris, applying a flexible sealant that expands and contracts with temperature changes, and ensuring a proper curing time before sealcoating begins.
Weather Conditions and Timing Considerations
Temperature and humidity aren’t suggestions when it comes to sealcoating. They’re requirements that determine success or failure. Applying a sealcoat in temperatures below 50°F or above 90°F can prevent proper curing. At the same time, high humidity can cause extended drying times and poor adhesion.
You’ll also need at least 24 hours of dry weather after application for the coating to cure properly. Wind conditions matter too, as strong winds can cause uneven application and premature skin formation on the surface.
These preparation fundamentals might seem like extra work, but they’re what separates a professional-quality job from a weekend DIY disaster. When you invest in proper preparation, you’re investing in results that will protect and enhance the beauty of your property for years to come.
Why Charlestown Landscaping is Your Asphalt Sealcoating Expert
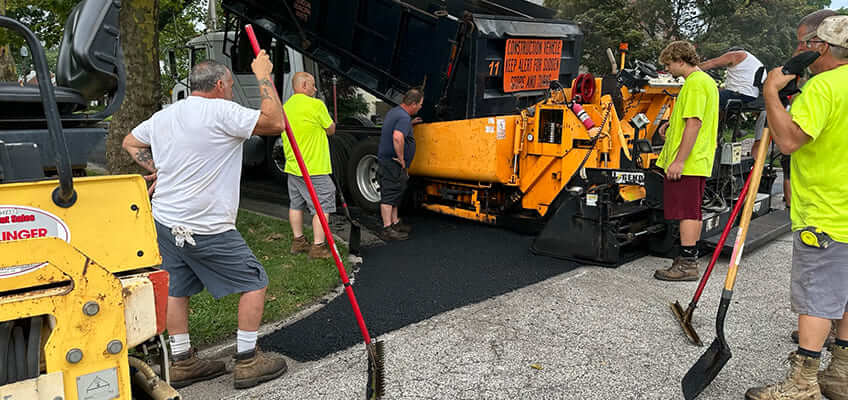
When it comes to protecting your asphalt investment, experience and expertise make all the difference between a job done right and costly do-overs. Charlestown Landscaping brings years of specialized knowledge in asphalt sealcoating, serving property owners who demand lasting results rather than quick fixes. We understand that your driveway or parking area represents a significant investment, and we treat every project with the professional attention it deserves. Here are three key advantages of choosing our professional sealcoating services:
- Comprehensive preparation process: We never skip the critical prep steps that ensure maximum adhesion and longevity
- Professional-grade materials and equipment: Our commercial sealers and application tools deliver superior coverage and durability
- Weather-optimized scheduling: We time every application for ideal conditions, guaranteeing proper curing and performance
Ready to Protect Your Asphalt Investment?
Proper asphalt preparation isn’t just about following steps – it’s about protecting one of your property’s most valuable assets. Whether you’re tackling this project yourself or working with professionals, the preparation phase determines everything that follows. Remember, shortcuts taken during preparation always show up later as premature failure, costly repairs, and frustration.
Don’t let poor preparation turn your sealcoating investment into an expensive lesson; take the time to do it right the first time, and your asphalt will reward you with years of reliable service and enhanced curb appeal.


